Initial Setup
Package Contents
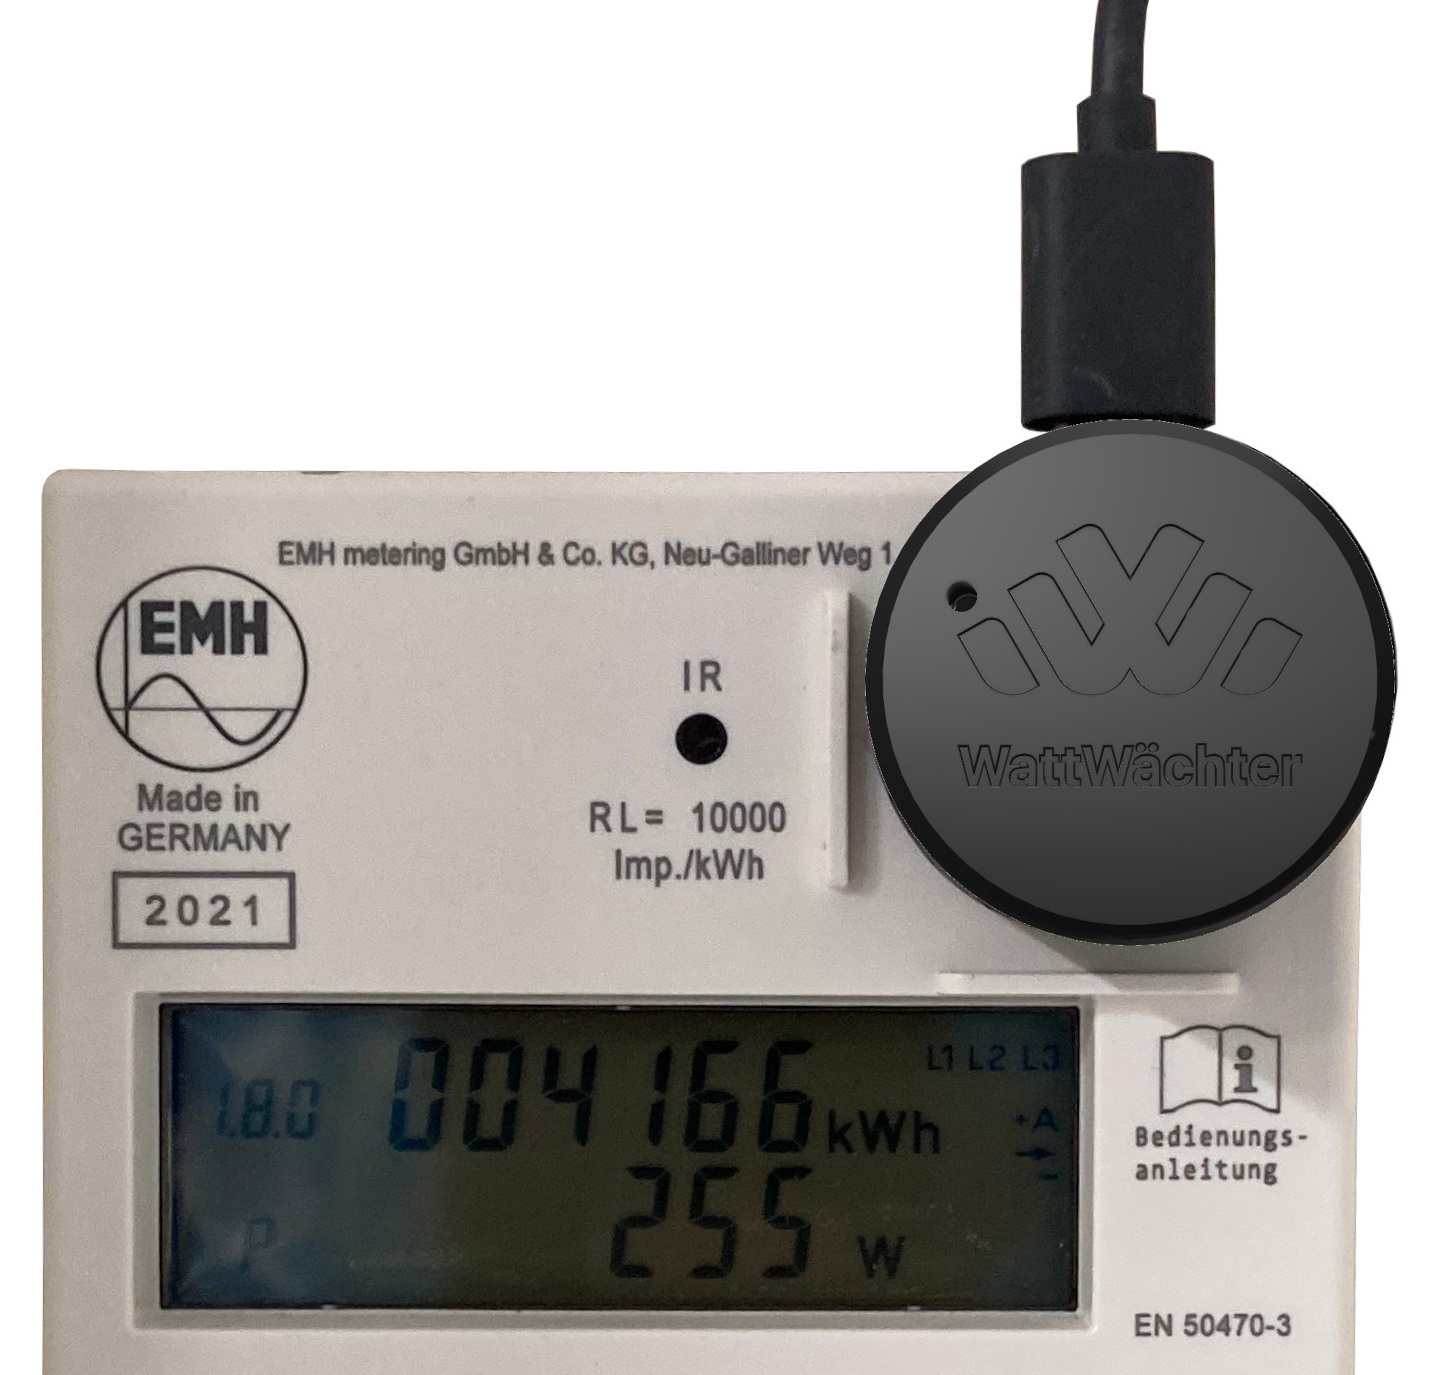
- WattWächter Plus (IR reading head with magnetic mount)
- USB-C cable, approx. 1m
- USB-A to USB-C adapter
1. Connect the Device
-
Attach the IR reading head — Place the magnetic reading head on the optical interface (IR port) of your smart meter. The magnet holds it in position. On most meters, the USB cable should point upward so that the WattWächter logo is right-side up.
-
Connect USB-C — Connect the WattWächter to a power supply (5V, min. 500mA) using the USB-C cable.
- Wait — The LED briefly lights up yellow (startup), then pulses blue (ready for setup).
Compatibility
The WattWächter supports all smart meters with the SML or OBIS protocol via the optical D0 interface. This covers most modern digital electricity meters in Germany.
2. Set Up WiFi
You have two options to connect the WattWächter to your WiFi network:
Option A: Via App (recommended)
The easiest way to set up the WattWächter is with our app:


- Download the app from the App Store or Google Play Store
- Make sure Bluetooth is enabled and the app has permission to use Bluetooth
-
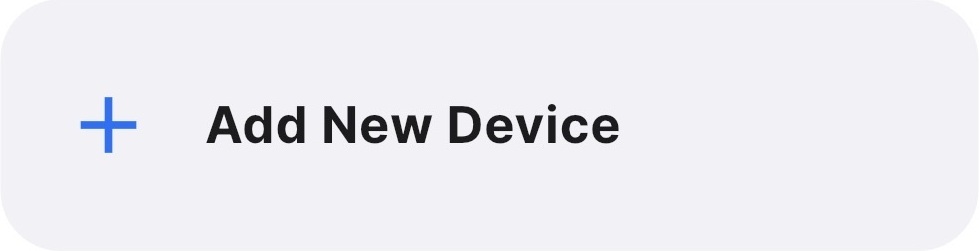
Open the app and tap "Add new device"
-
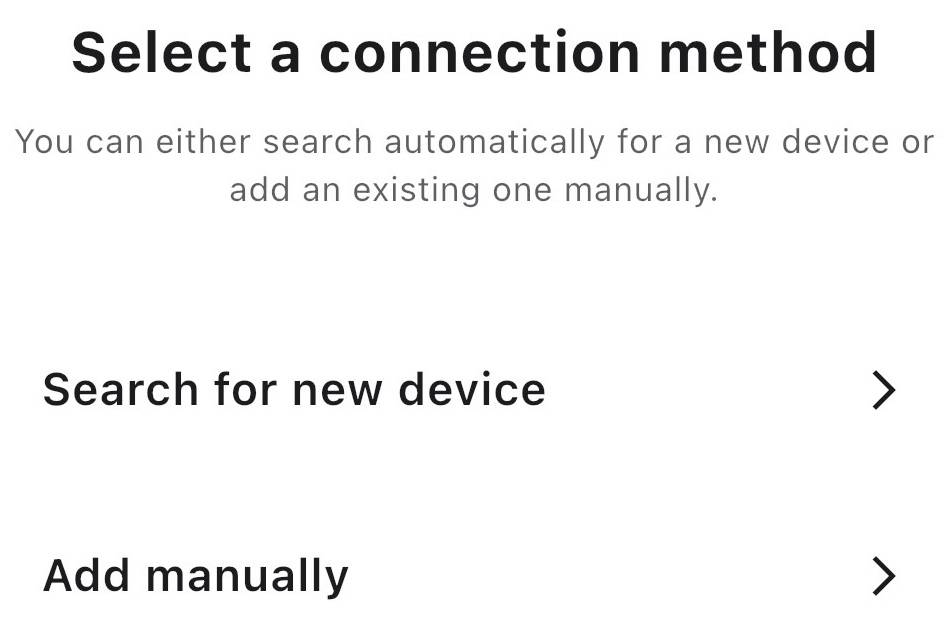
Select "Search for new device" as the method
-
Select the discovered device

-
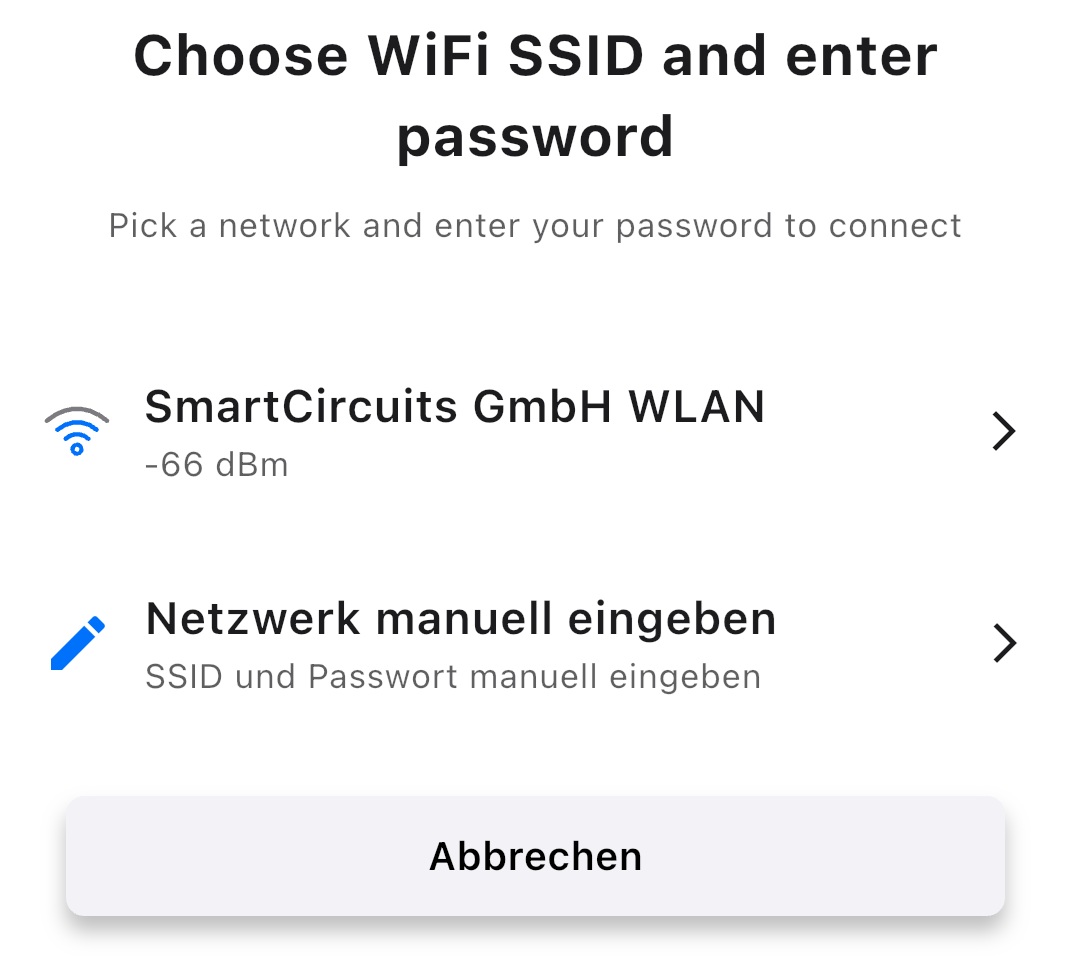
Choose the WiFi network the WattWächter should connect to (or enter the SSID manually)
-
Enter the password
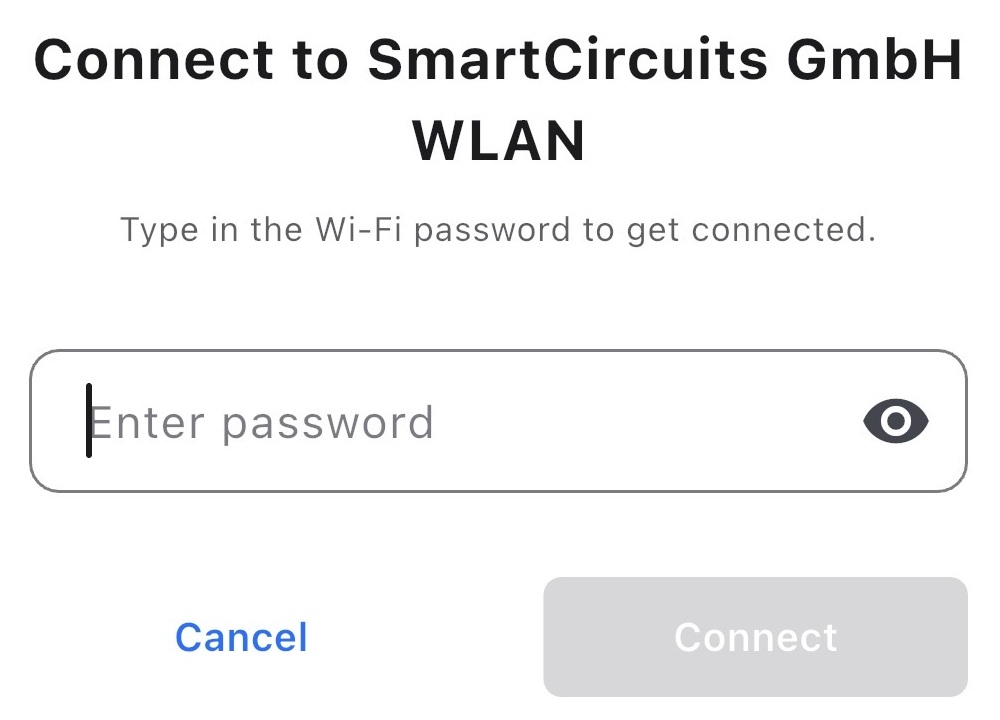
-
After a short moment, you'll see a message that setup was successful
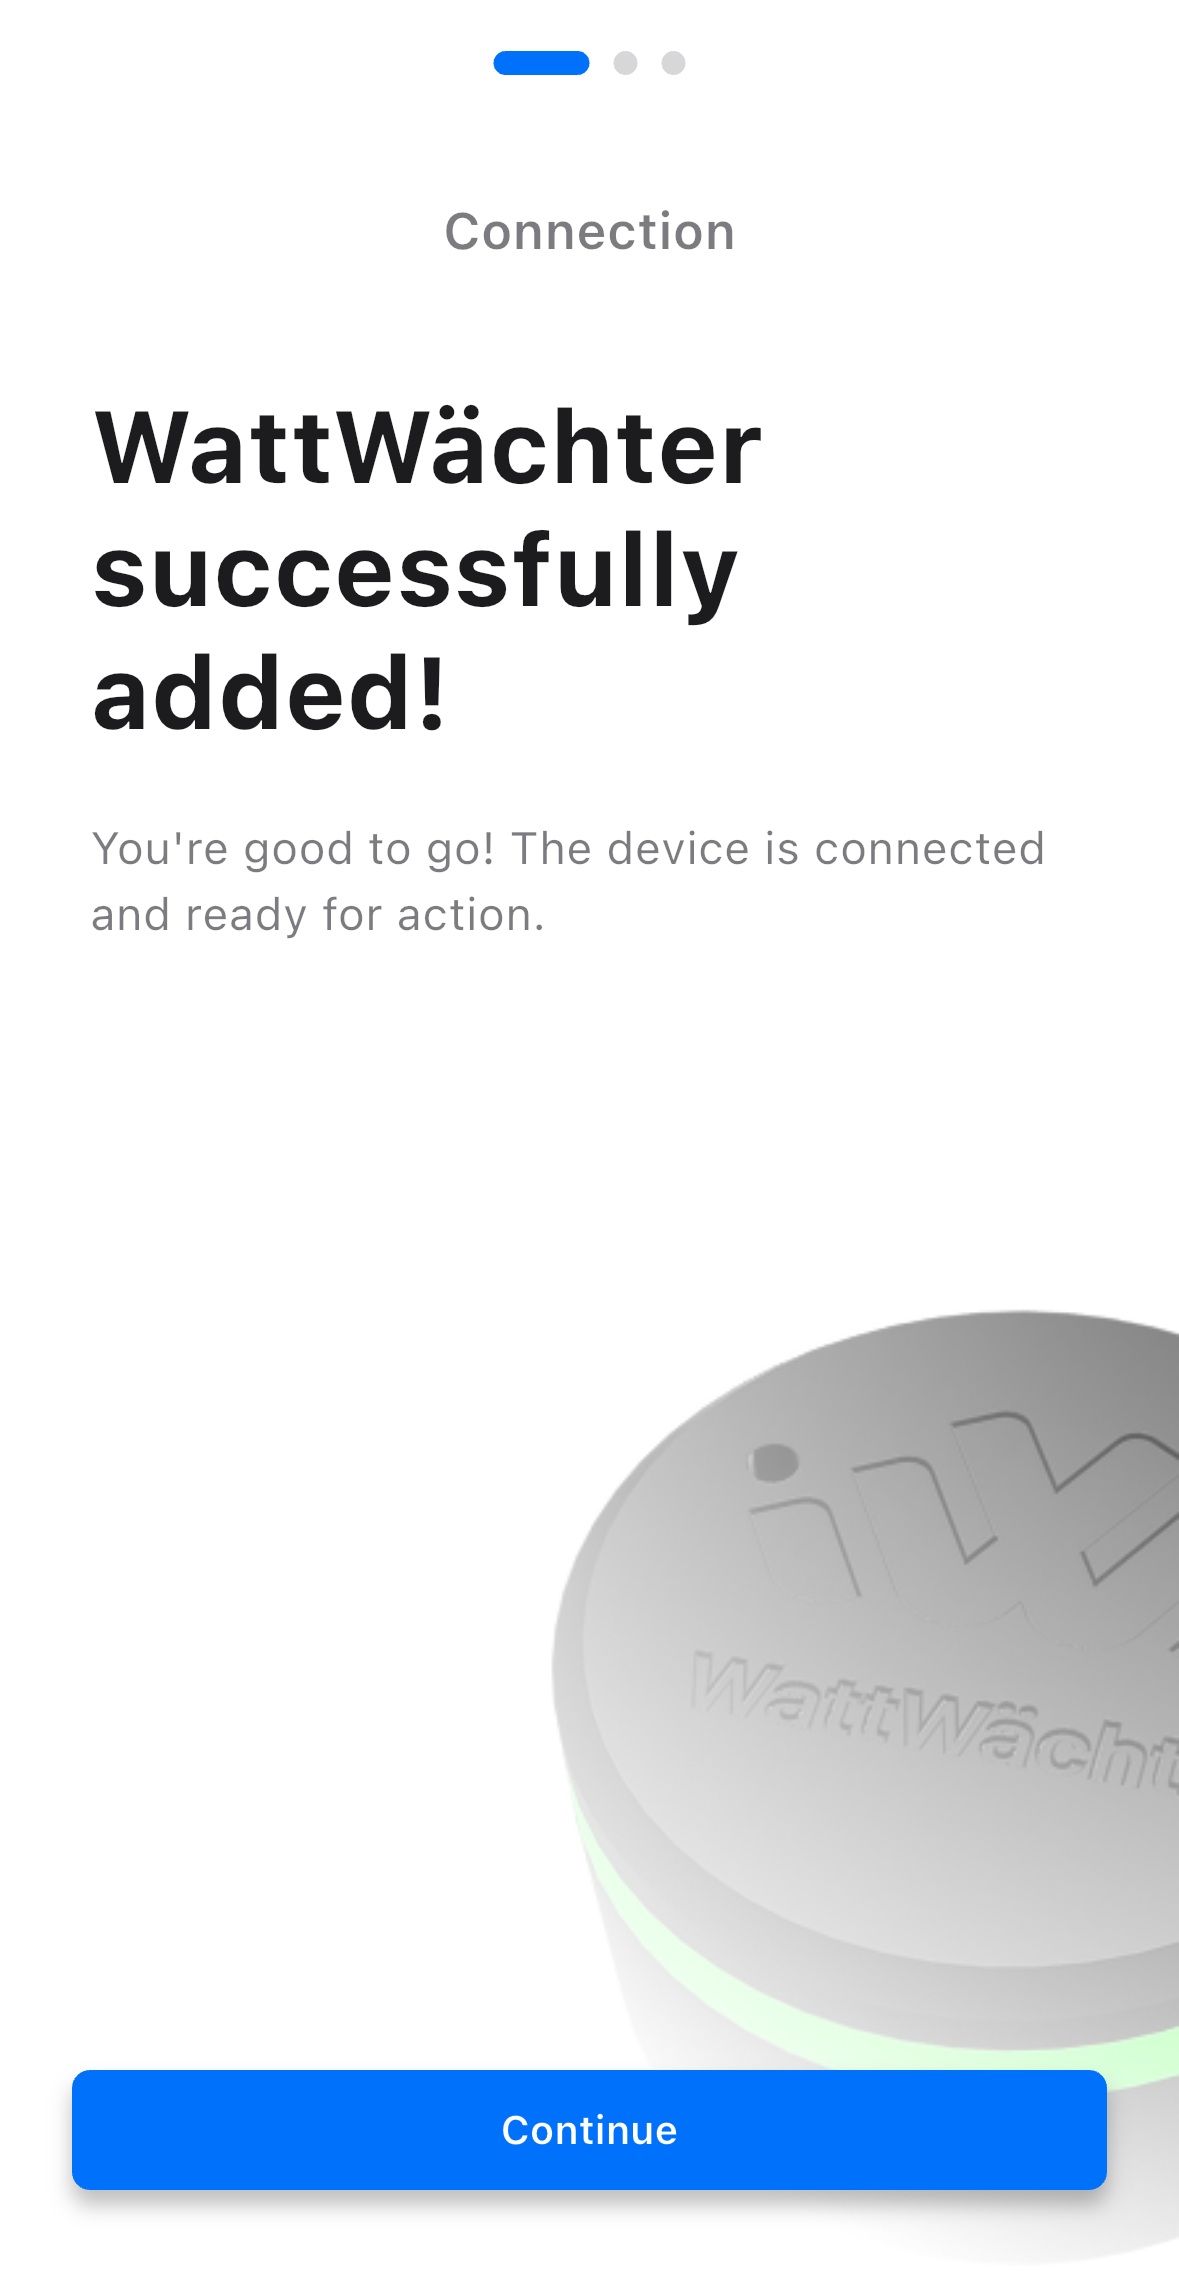
-
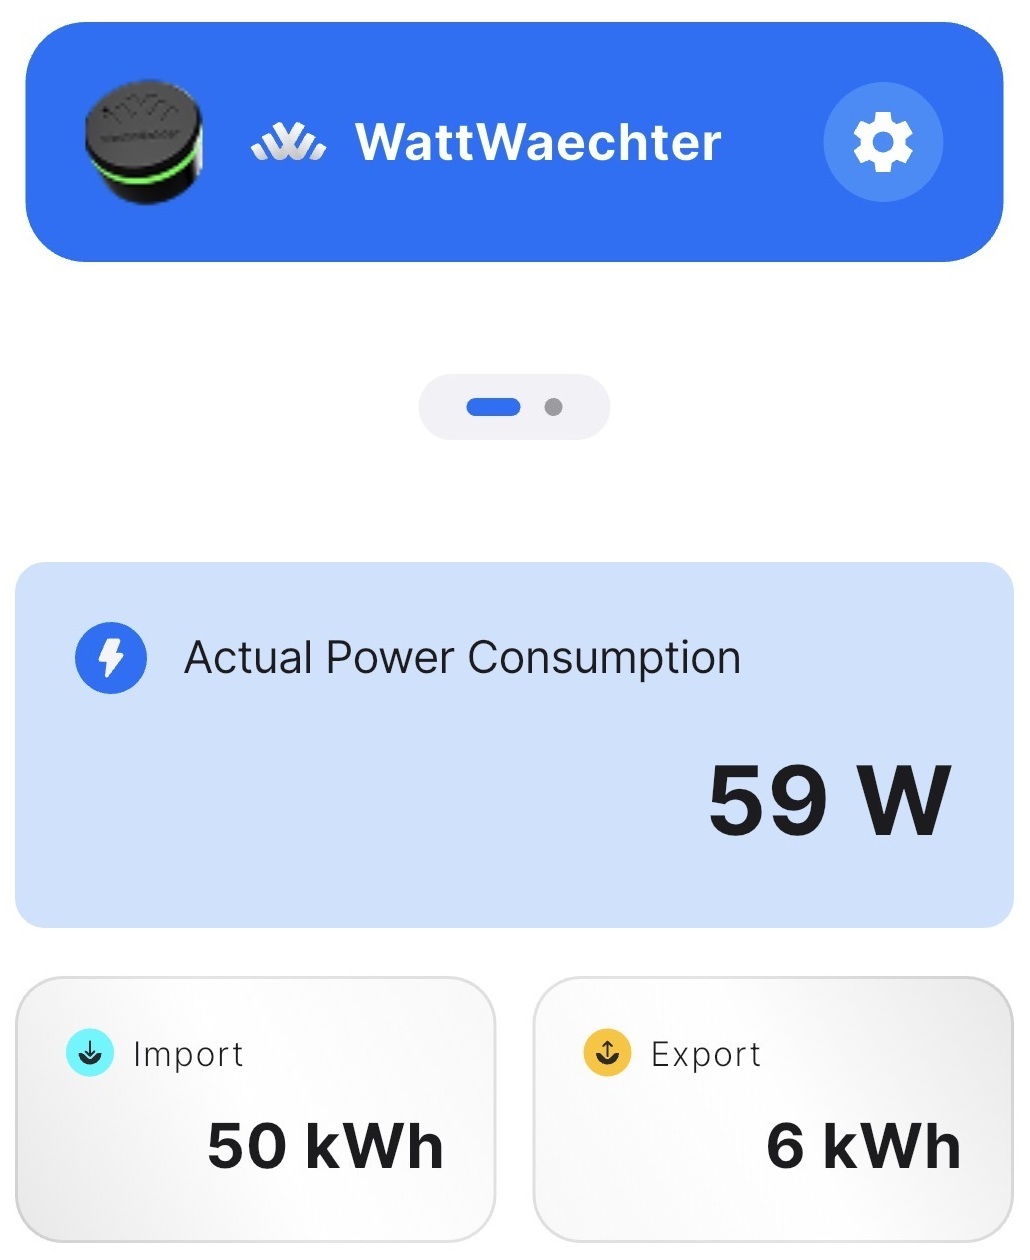
You'll automatically return to the main screen and see the current meter readings
Option B: Via Browser (AP Mode)
If Bluetooth is not available, the WattWächter can also be set up via its own access point.
Connect to the Access Point
- The device creates its own WiFi network: WattWaechter-XXXX (XXXX = last 4 characters of the MAC address)
- Connect to this network
- A captive portal should open automatically. If not, open in your browser:
http://192.168.4.1
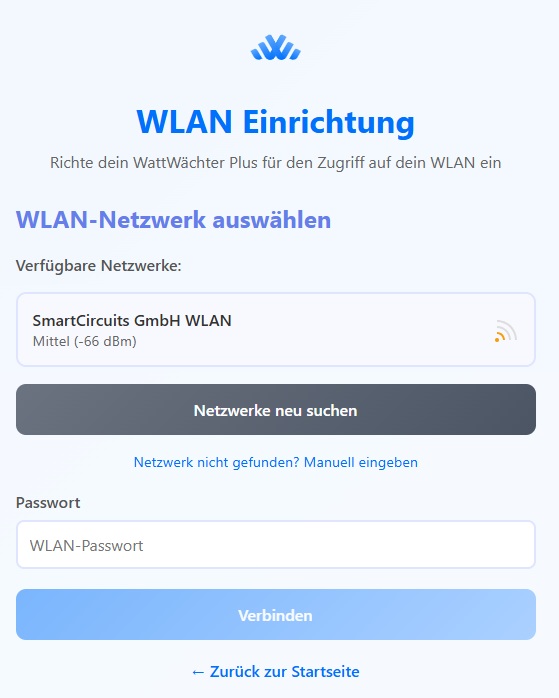
Configure WiFi
The WattWächter's home page will open:
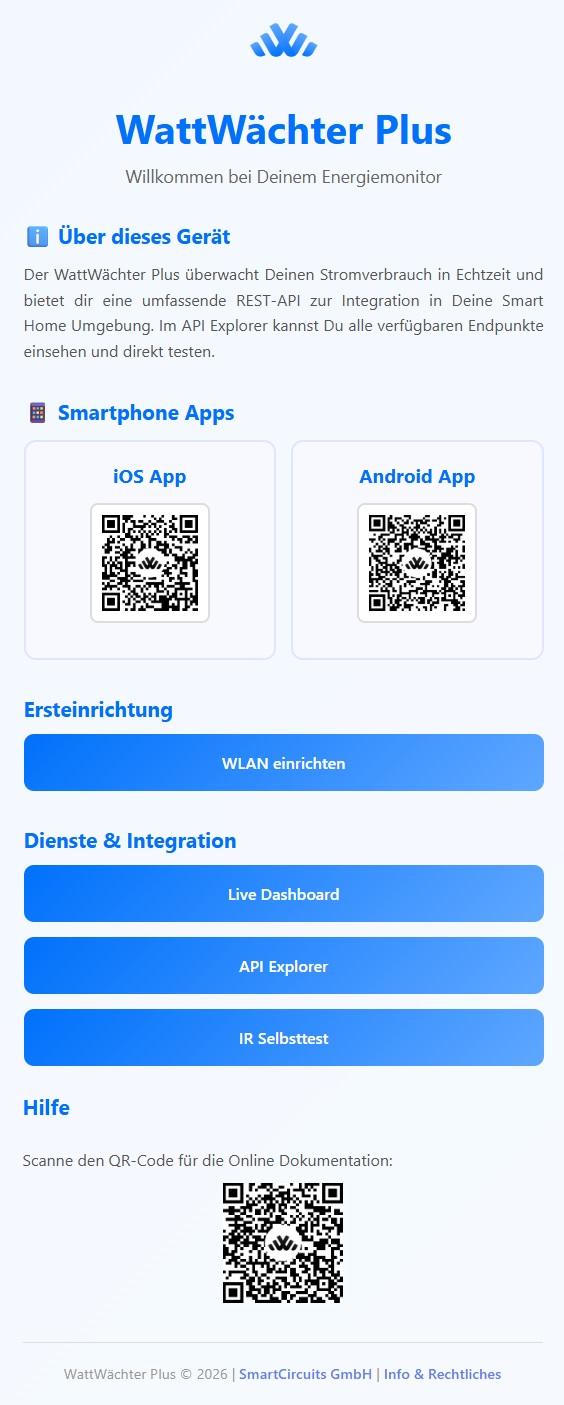
- Click "Set up WiFi" in the "Initial Setup" section
-
A new page opens showing the scanned WiFi networks. Select your home network from the list. If your network is not listed, you can also enter it manually.
-
Enter your WiFi password at the bottom and click "Connect"
- The device connects to your WiFi
After a successful connection, a confirmation page is displayed. In the "Connection Details" section, you'll find the IP address and mDNS name. The API tokens are also shown — these are only relevant if you later enable API authentication.
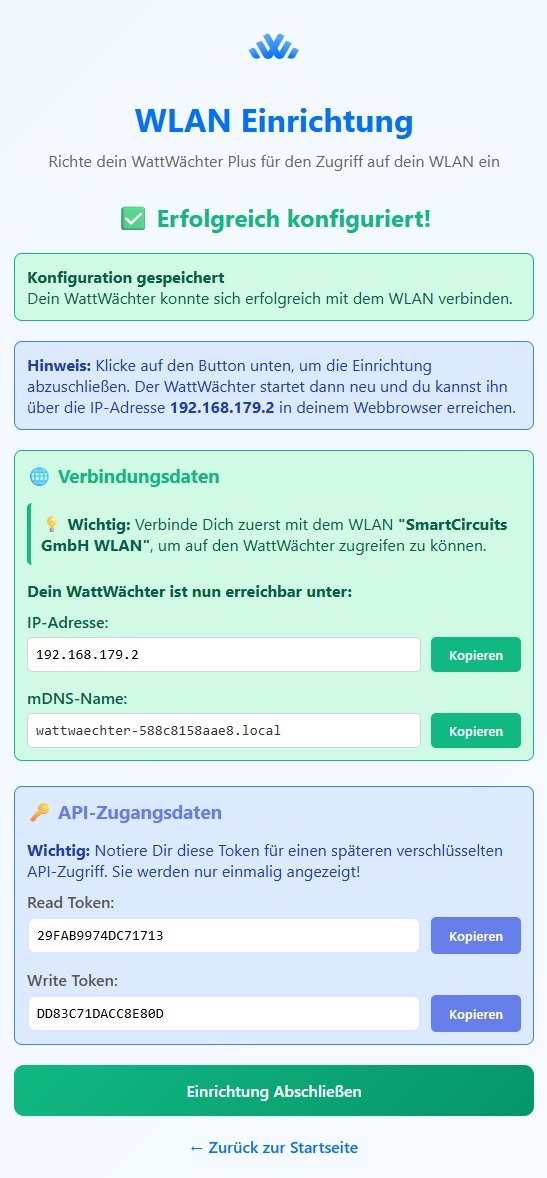
AP Mode Ends
After a successful connection, the access point is deactivated.
Test the Connection
- Reconnect the device you used for setup to your regular WiFi network
- Enter the mDNS name or IP address shown on the confirmation page in your browser
Once the LED is green, the WattWächter is reachable on your network and you can open the web interface.
3. Done
After successful WiFi connection, the LED turns green (solid). The WattWächter is now reading your smart meter. If the LED shows a different color, see LED Status.
- Local access:
http://wattwaechter-XXXXXXXXXXXX.local(the mDNS name is shown in the app or at the end of AP setup) - API access:
http://wattwaechter-XXXXXXXXXXXX.local/api/v1/... - Cloud portal (optional): Remote access via login.wattwächter.de — setup guide
Local Operation
The cloud connection is optional. The WattWächter works fully locally — all data is accessible on your home network via the mDNS name.
Next step: FAQ — Bluetooth issues, factory reset, connecting another phone